
Despite the astronomical price of eggs, you don’t have to spend hundreds of dollars on ingredients in order to make a delicious dinner. In fact, easy dinner ideas with humble ingredients can taste just as good as a fancy dish.
I’ve compiled a few recipes here that will result in easy weeknight dinners that you can make for under $20.
Quick note:
Pricing data is from my local grocery store, Wegmans, which is a little more expensive than average. So, you could make these cheap dinner ideas even cheaper if you shop at a store like Aldi or even Kroger. Alternatively, if you’re going to Whole Foods…well, good luck.
Also, some items you have to buy more of than you need to make one delicious meal. So, even though some of the totals go a little over $20, you don’t actually use all of those ingredients, so the recipe would be under $20 if you made it a second or third or fourth time.
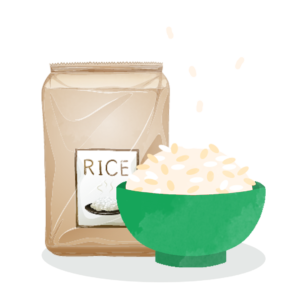
Many a favorite recipe calls for a rice base, and that’s not surprising at all. Rice is cheap and it fills you up. It’s also an excellent vehicle for all sorts of yummy sauces, so many a delicious dish is literally based on rice.
You can get 5 lbs of jasmine rice (which is about 14 cups) for around $5. That puts the cost of using 1 cup of rice in a dish at about 35 cents — pretty cheap.
If you don’t know how to cook rice, don’t worry: it’s so easy even I can do it (and I’m no celebrated home chef).
Generally, you end up with three times as much cooked rice as the dry rice you start with. An “official” serving of rice is half a cup, cooked, so you’ll want to measure a half a cup of dry rice for every 3 people you’re hoping to feed.
The best way to rinse rice is to put your measured rice into a strainer and rinse it over the sink until the water leaving the strainer runs clear. Alternatively, you could put the rice in a bowl, fill it with water, and then strain it over and over, but that’s a real pain.
How much water you should be putting in your rice differs from recipe to recipe. I’ve seen water:rice ratios anywhere from 1.5:1 to 2:1. Personally, I like to split the difference and use 1 3/4 cups of water for every 1 cup of dry rice.
Put your rinsed rice in a pot that’s big enough to hold the rice and all the water with a few inches of space above so it doesn’t boil over. Then, add the water you measured and turn on the stove to medium-high.
Once the water is boiling, turn the burner down to low and cover the pot. Cook-time on rice will depend somewhat on how much rice you’re cooking, but generally 15 to 20 minutes should do it.
Once the water has boiled away, the rice is done! You should “fluff” it (which just means breaking up any clumps with a fork or spatula) before progressing with whatever recipe you’re making.
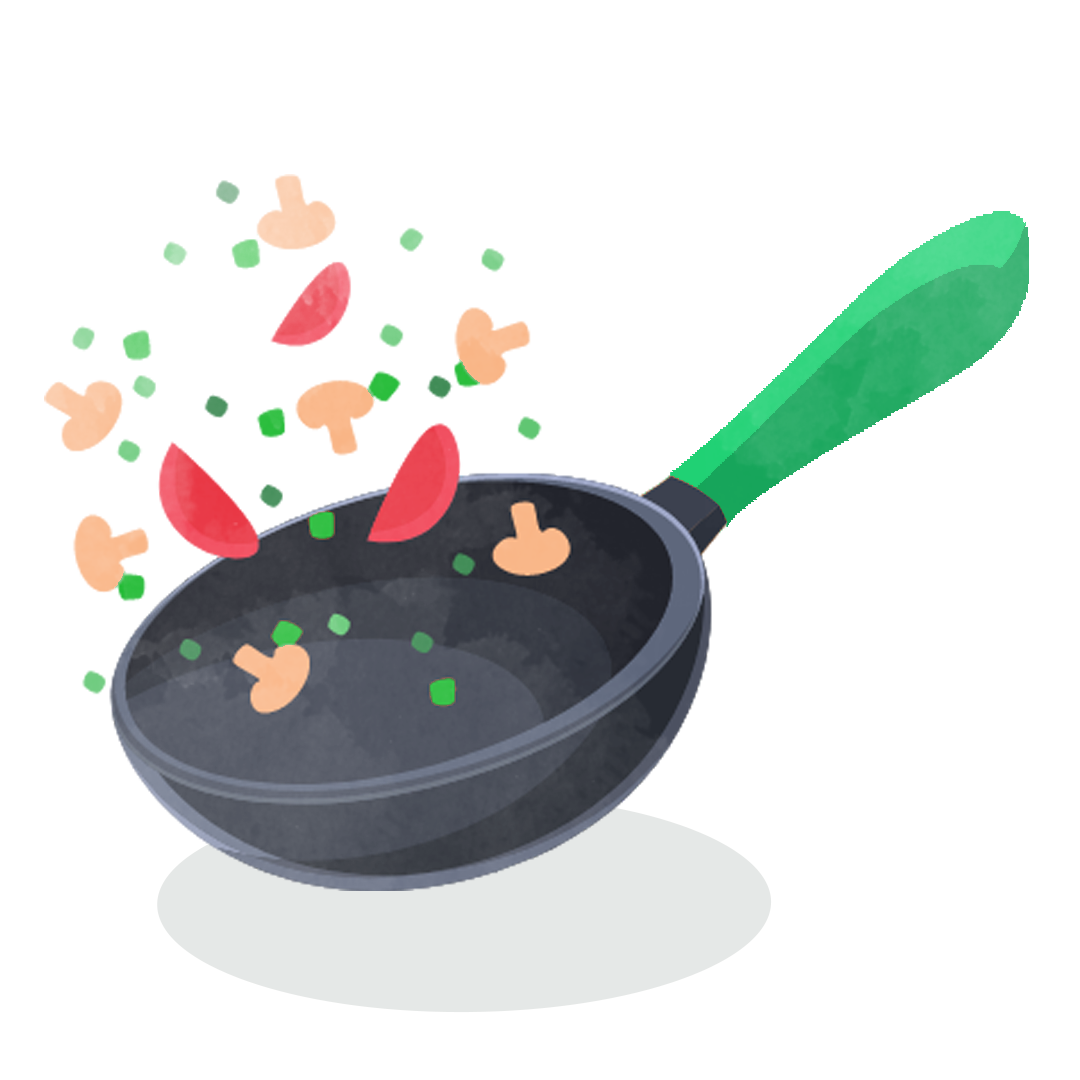
Quite a few of our staff members immediately thought of a stir fry when I asked them for cheap dinner ideas. Not only is this dish so simple even I can make it successfully, it’s quite cheap and on the healthy side as well.
One of the wonderful things about these dishes, is you can throw one together using a few pantry staples and any vegetables you happen to have lying around the fridge.
However, if you like to plan ahead, here’s a simple stir fry recipe you can make for under $20:
1) Make the rice (see the recipe above). I’d recommend mixing a teaspoon of sesame oil and one of white wine vinegar to the rice after it cooks if you have it.
2) Wash and chop all of the vegetables into bite-sized pieces. The closer to the same size you can get all of the pieces, the better, but feel free to be as careless about this as possible, as long as everything fits in your mouth. Throw all the chopped veggies into a bowl and toss them with a little salt and pepper. Set ’em aside for now.
3) Chop the chicken (or steak, if you’re a $30 baller) into pieces roughly the same size as the vegetable pieces. Season lightly with salt and pepper.
4) Warm up some oil in a large pan.
5) Add your protein to the pan and cook until browned.
6) Add the veggies to the pan and mix everything together.
7) Add your sauce of choice — enough that it coats everything, but not so much that you’ve created a teriyaki pool or anything like that.
8) Cook until your protein is cooked all the way through. (Check by cutting a piece in half. For chicken, it should be totally cooked. Steak, you can cook to your liking.)
9) Serve! Lay a bed of rice on a plate or shallow bowl and top with the stir fry. Yum!
Feel free to play around with the ingredients and sauces you use for this dish. Whatever you like, chop it up, cover it in yummy sauce, and serve it over rice. It will taste good!
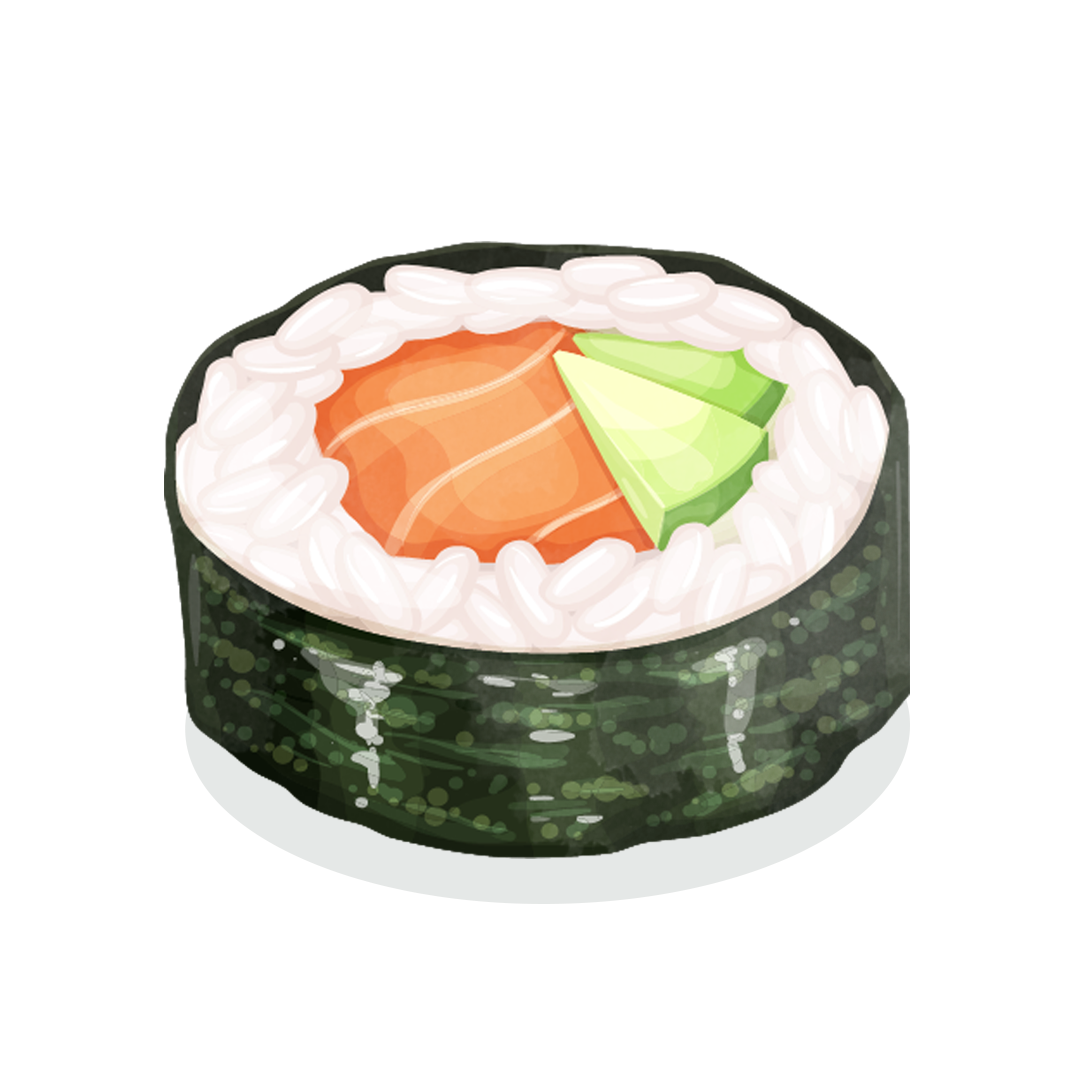
When you think of cheap dinner ideas, sushi does not come to mind. However, it’s actually a quick and easy meal you can make at home on the cheap — you won’t be including any raw fish if you’re trying to spend under $20, but that’s okay.
Most sushi ingredients are actually fairly inexpensive and healthy. So you can make a cheap dinner that has all the flavor of a fancy restaurant for under $20. Here’s a recipe:
1) Make sushi rice. You can use the recipe described above, however there is one additional step: after your rice is cooked, you need to add sushi vinegar to it. To do this, mix 1/2 cup of rice vinegar, 1/4 cup of white sugar, 1 teaspoon of salt, and 1 tablespoon of oil in a cup until combined (microwave it for about 30 seconds to make mixing easier). Drizzle the mixture over your rice and mix gently with a spatula or wooden spoon until it’s combined.
2) Wash and chop the veggies. Cut the carrots and cucumber into thin spears — think the width of a phone charging cable at most. When chopping your cucumber, you’ll want to remove the seedy middle part — the point of these veggies is to be crunchy, and that mushy middle part of the cucumber isn’t helping. The avocado, on the other hand, can simply be sliced.
3) Prepare your sushi mat. If you try and roll your sushi right on the bamboo rolling mat, it’s going to get messy fast. I’d recommend wrapping your mat in some sort of cling wrap. This way, you won’t get rice and other sushi ingredients stuck to your mat and it will be much easier to clean up after yourself.
4) Spread your rice. Lay down one piece of nori on your wrapped rolling mat. Using the special sushi paddle (they usually come with the rolling mat if you have to buy one) or a wooden spoon, spread a thin layer of sushi rice over the nori. You want the rice to be fairly thin, about an eighth of an inch thick at most. (Of course, you can adjust the thickness based on how much rice you want per roll.)
5) Arrange your roll. Lay down your ingredients in a line along the side of the nori that’s closest to you, leaving about a half an inch of room on the side. How much of which ingredients you use is up to you, but you want to make sure that you’re filling out the roll. In fact, it’s better if you have ingredients poking out the end of the roll rather than not quite filling it enough.
6) Roll it up! Starting with the edge where all your ingredients are, begin rolling up your sushi. Roll the sushi until your rolling mat touches the rice, then use your hands to make sure you pressed the roll tight enough by lightly squeezing the roll along its length. Then, lift up just the rolling mat and continue to roll the sushi up, checking for tightness as you do.
DISCLAIMER: I know — describing how to roll sushi in words is not easy, and those instructions may not be all that clear. There are plenty of videos that show you how to do this on the internet. I’d advise you take a look at one of those before executing this step.
If rolling up sushi seems like altogether too much work (or you don’t want to spend the money on nori), you can make sushi bowls using this recipe instead.
Cut all the ingredients the same, and place them on top of sushi rice in a bowl instead. It’s not quite as fun to eat as sushi is, but it’s still one of the yummier healthy dinner ideas you could have for under $20.
Sushi is a great vehicle for experimentation. Legitimate sushi restaurants will add things like cream cheese, shredded chicken, or even sweet potatoes to their rolls, so feel free to play around and have some fun!

Tofu is an incredible way to save money without sacrificing quality of protein. A pound of tofu goes for around $2.19, which is far cheaper than any non-vegetarian protein you could find.
The only issue with tofu is it can be a bit tricky to cook in such a way that it has a pleasant texture (although when you get it right it’s amazing). Here are a few quick tips for preparing tofu that actually tastes good:
When you buy tofu, it’s soaking in water. If you want your tofu to be the flavor sponge it has the potential to be, you have to press as much of that liquid out as possible so it can absorb the sauce you’re going to cook it in.
Here’s how you press tofu:
1) Slice your tofu into 1″ cuts.
2) Layer a few paper towels over your cutting board, and then arrange the tofu over the paper towels.
3) Put another layer of paper towels on top of your tofu.
4) Put a second cutting board on top of those paper towels.
5) Put something heavy on top of the second cutting board (a cast iron pan works great, or a pot half-full of water).
6) Leave it for about 10 to 15 minutes.
Crispy tofu is one of the true pleasures life has to offer. You can crisp up well-pressed tofu simply by frying it on all sides, however the real secret to the perfect tofu texture is to coat it in a corn starch based breading before frying.
Corn starch absorbs more moisture than traditional breading does, and so adding it to your breading mix is key. You can still mix in some panko or bread crumb of choice, however, if you want to have that familiar breaded texture.

While hamburgers aren’t going to top anyone’s list of healthy meals, they are a fun and inexpensive dining experience that the entire family will enjoy. Here’s a burger recipe you can use to make a cheap dinner that will impress your diners:
1) Get the potatoes going. The frozen potatoes you bought probably need 15 – 20 minutes in the oven. So, before you get your burger chef on, preheat the oven and do any other prep-work necessary to have the potatoes ready by the time you’re done cooking. (Follow the package instructions, of course, but usually this is going to involve spreading the fries out on some sort of sheet pan.)
2) Season the beef. Put your ground beef in a mixing bowl and add a healthy splash of the Worcestershire sauce along with a dash of salt and pepper (to taste). If you have other seasonings lying around the house, they would be welcome here. Paprika and garlic powder are especially excellent choices, but this is a great opportunity to experiment if you’re into that kind of thing.
Once you have all your seasonings added, mix the beef by hand until everything is incorporated fully. Feel free to add more Worcestershire sauce, too. As long as the beef is still soaking it up, you’re good. Just stop before it starts to pool at the bottom of the bowl.
Once everything is mixed together, form your beef into four equally sized patties and set them aside.
3) Caramelize your onions. Julienne the onions. (While you’re at it, you may want to go ahead and slice your tomatoes and lettuce as well, but you could save that for later.) While you’re chopping, warm a tablespoon of olive oil in a pan.
When you’ve finished cutting the onions, add them to the pan, sprinkle them with salt and pepper, and sauté them until they’re caramelized (5 to 10 minutes, depending on the stove). You’ll know the onions have caramelized when they’re brown and translucent and just starting to blacken at the ends. Put the caramelized onions aside for now.
4) Cook the burgers. Use the same pan you caramelized onions in. Make sure there’s some oil left over (add a bit more if not) so your burgers don’t stick. General rule of thumb is to cook a patty for 2–3 minutes per side for rare and 3–4 minutes per side for medium.
While the first side is cooking, go ahead and thinly slice 2–3 pieces of cheddar per patty (you’ll add those once you flip the burgers). Add a couple of drops of Worcestershire sauce to each patty (this will help them stay juicy).
After you flip the burgers, lay your cheese down and cover the pan so it will melt.
5) Toast your buns. If you’re like me, you don’t really care whether your burger buns are toasty or not. If you’re like everyone else I’ve ever met, however, you think people like me are crazy and an un-toasted bun is the mother of all missed opportunities.
If you want toasted buns, now’s the time to do it. If you have a toaster oven, that will work just fine, but most pop-up toasters will likely have some trouble with the thickness of a bun, and so you may want to toast them on the stove.
Spread some butter or mayonnaise on each surface of the bun and cook them on medium for a few minutes, just until they’re brown and crispy.
6) Assemble and serve! Once your burgers are cooked and your buns are toasted, you’re ready to get everything on the plate. This burger goes great with basically any condiment, so use whatever you have in the fridge. Don’t forget the fries in the oven!
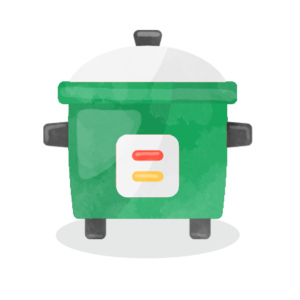
What’s better than a meal that feeds the whole family and is basically guaranteed to allow you to enjoy leftovers? One that requires very little effort, of course!
Slow cooker recipes are all the rage these days, and for good reason. There is something hugely appealing about a quick and easy dish that only asks you to throw everything into a single pot and wait.
Here are a couple easy meals you can make on the cheap that will please the picky eaters in your life for a few days in a row.

There’s nothing better on a cold day than a warm bowl of chili. Chili is also a super versatile dish, as you can easily make it vegetarian or even vegan to suit the dietary needs of whomever you’re feeding.
It’s also one of those cheap meals that satisfies just as well as the more expensive ones. Here’s a recipe that I use. It feeds my wife and I for about a week straight, but this dish should feed your entire family for at least a day or two.
Side Note: I’m going to assume that you already have all of the spices this recipe calls for. If you had to buy new bottles of all the spices, you’d be well over the $20 limit, however you won’t use anything close to all of the bottle for this recipe, so if you do that math it still should cost well under $20 to make this dish.
1) Get a large pot, coat the bottom in olive oil, and get it warming up on medium-high heat.
2) Add the ground beef to the pot and break it up with a wooden spoon.
3) Cook the beef until it’s browned, about 6 minutes.
4) Add all of the dry ingredients and mix until well-combined.
5) Add all of the rest of the ingredients (make sure you drain and rinse your canned beans first) and stir until it’s all combined.
6) Once the liquid starts to boil, reduce the heat to low and simmer for about 30 minutes, stirring occasionally.
7) While the chili is cooking, shred the cheddar cheese and set it aside. Then, wash and dice the green onion.
8) Once the chili is cooked, take the pot off the heat and let it sit for 5 minutes.
9) Serve in bowls topped with cheese and green onions (and sour cream if you’re into that). Yum! Just the thing for a cold, winter day.
OK, technically this is a one pan dish, not a one pot dish, but I think you’ll forgive me once you try this fried rice: it’s simple, easy to make, and full of ginger and garlic flavors — the perfect recipe for a large group, even if they’re not vegetarians!
1) Make sushi rice (as described above).
2) Wash and chop your veggies. Slice the mushrooms and scallions into pieces about an eighth of an inch thick and chop the broccoli into small florets.
Hopefully, you have a garlic press. If not, you’ll need to dice the garlic as well (or just buy pre-minced garlic, but that’ll be more expensive).
Grate 1″ of ginger.
3) Sauté the mushrooms. Add a little oil to a pan, heat it up to medium-high, and then add the mushrooms. Toss them to coat with oil and add salt and pepper to taste.
Then, cook the mushrooms for 2 to 3 minutes without stirring so they brown up. Stir them, and then let them sit for 2 to 3 more minutes. Repeat this process until all the liquid they release is gone.
Once the mushrooms are cooked, remove the pan from heat and put the mushrooms in a bowl for later.
4) Make sauce. Whisk the sugar, soy sauce, salt, grated ginger, and pressed garlic together in a small bowl. Set aside.
5) Cook broccoli. Warm 1 tablespoon of oil in the pan, then add the broccoli, scallions, and a pinch of salt. Toss it all together to coat with oil, then cook without stirring for 5 minutes.
Continue cooking, stirring consistently, for 2 more minutes. Put broccoli and scallions aside in a bowl for later.
6) Cook eggs & rice. Heat 3 tablespoons of oil on medium-low heat, then add the eggs and stir for about 30 seconds.
Add the rice and the soy sauce mixture and toss until everything is combined. Then, press the rice down and cook undisturbed for 5 minutes.
7) Final mix! Add the veggies back to the skillet and remove from heat. Add sesame oil and vinegar and mix thoroughly.
8) Serve!

We don’t have the space to include actual recipes for all these, but here are some more cheap dinner ideas you can make for less than $20:
Lots of the folks I asked about recipes had ideas for how to save on food that weren’t recipe-specific, so I’ve included them for your benefit here.
Eating well past the point of being full is unhealthy and a waste of food. By training yourself to stop eating when you get full you can easily stretch meals that typically served you once into the next day’s lunch. Here are a few quick tips for learning portion control:
Mayonnaise is one of the most calorie-dense foods money can buy (and it’s fairly cheap too — $3.99 for 30 whole ounces). So, if you’re finding that it’s hard for you to make a filling meal, try adding mayo! Obviously this won’t work with every recipe, but you can dress mayo up as aioli if you want to make it a bit more fancy.

If you can’t walk by the pastry counter at your grocery store without buying something, curbside pickup might be the way to go. By meal planning on the front end and ordering your grocery list for curbside pickup, you can forego the distraction of actually going into the store, which could save you quite a lot on “accidental” purchases.
YOUR FREE FINANCIAL PLAN
Are you ready to invest in your future?
Build your free plan today.
Start now

You do not need to become a “finance person” to improve your finances. You do not need to memorize stock terminology, optimize every purchase, or start speaking in mysterious podcast phrases about passive income streams while holding a steel water bottle. You mostly need: clearer systems less fear slightly better habits enough understanding to make calmer decisions

Low housing prices. Lower taxes. Lower monthly costs. A slower pace of life. Maybe a suspiciously affordable lakeside condo smiling at you from a real estate listing like a trap in a fairy tale. And to be fair, affordability matters. A lot.

Track every category. Review every receipt. Color-code your life. Become the kind of person who enjoys looking at bank statements on a Sunday. For most people, that version does not stick. Not because they are bad with money. Because the setup is too fussy, too time-consuming, or too annoying to survive real life. A beginner budget does not need to be perfect. It needs to be usable.